I have been given the daunting task to make a backdrop for our school's Veterans Day assembly. This is one of the many reasons I love our school. Our principal is uber patriotic and every year he invites the students' Veteran family members to come to an assembly and be honored. It is always a rousing success and every year he does something a little different so the assembly doesn't get boring.
This year there will be a reception prior to the assembly. My job is to make a backdrop for a wall. This doesn't sound too hard. . . except the Vets will be having a group photo taken in front of the wall - by me. This means 1) the wall will be immortalized and 2) I better brush up on my photography skills. The whole thing makes me nervous.
I will deal with #2 by taking at least fifty photographs, adjusting settings (the pre-set ones. . . I am pretty sure I will ruin the camera if I get creative), and praying. Hard. I may attend a weekday service in addition to Sunday Mass just to make sure my bases are covered.
Number one is still in the works. I had a vision of some simple stars and strips with "Proud to be an American" across the top. I decided to do the letters yesterday and they came out well. Actually, they came out too good. My simple stars and stripes will look really bad next to them.
You get the idea.
These were a pain in the butt to figure out how to make. I spent too much time in Word 2010 KNOWING that I could do it there. I couldn't.
Here's how to fill your letters with a picture or clip art. There is probably a better way. I don't know it. This is how I did it. If you know a better way, more power to ya.
Open up a PowerPoint Slideshow.
Click on the Design Tab (RED), Then Page Set up (BLUE) and adjust your slide size to the page size you will be using. My letters were HUGE so I changed mine to 11x17.
Next step: Add Word Art.
Insert Tab (Red), Word Art (Blue) and pick the first option (Green).
I like to type my letters, then highlight them but you can change this setting before you type. Either way works.
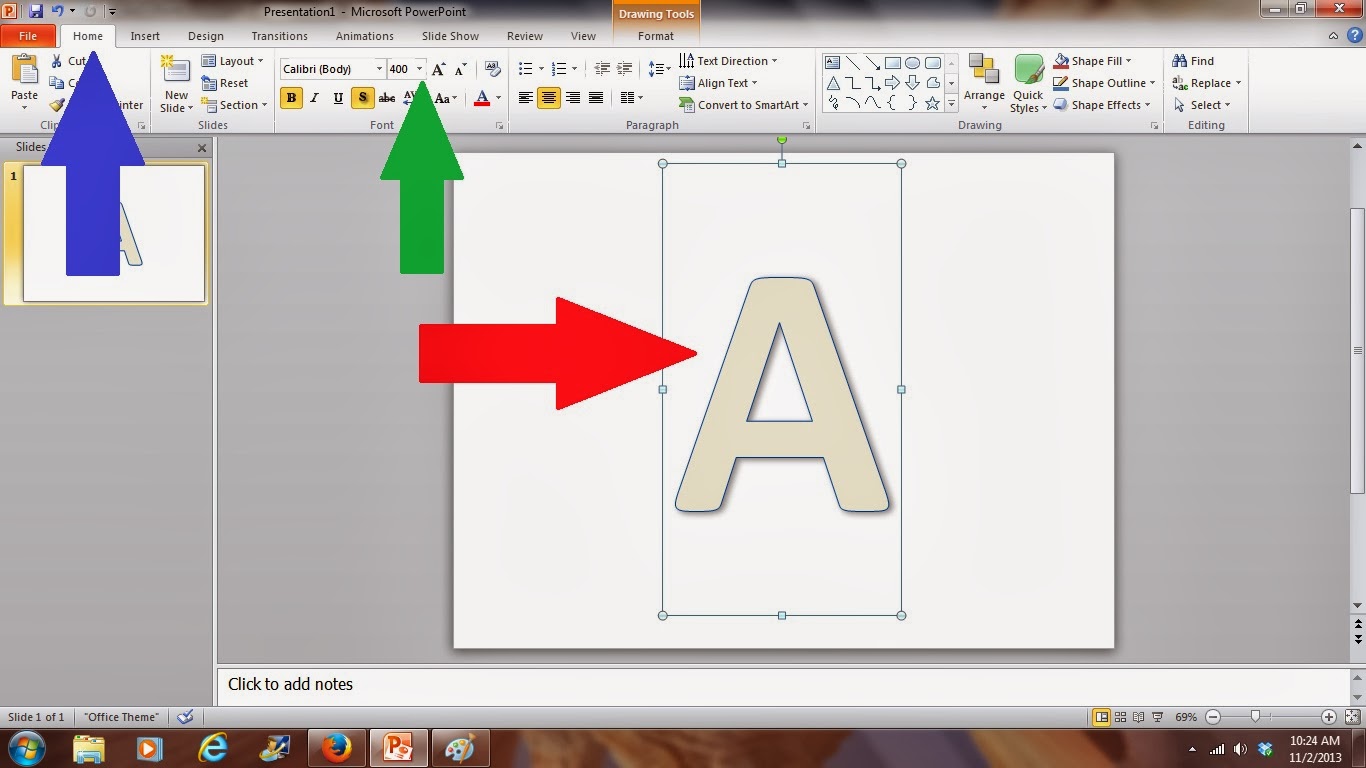
Highlight your letter (if you are doing that. . . Red arrow)
Click on Home Tab (Blue)
Adjust your font and size (Green)
Now go to the design tab (red)
Text Fill (Blue)
Texture (green)
More Textures (Purple)
Click Picture or Texture Fill (Red)
Clip Art (Blue)
Insert what you are looking for and click GO (Green)
Choose your option, click OK.
There you have it! You can adjust your outline while you are in the previous menu (before clicking OK, click TEXT OUTLINE and OUTLINE STYLE).
To be able to print them, I saved them as individual jpegs. Photos tend to print out nicer and, truth be told, it was easier for me. That's why I did it.
Click the FILE tab. Choose SAVE AS. Click SAVE AS TYPE (RED ARROW).
Choose the JPEG File Interchange Format. It will ask you questions like "For current slide or all slides". Pick what you need. I usually do all slides. . . it saves all individual slides as individual pictures.
Print out as a photo. I sent mine to the UPS store and paid fifty cents apiece to have them printed out. I laminated them on the school's laminating machine and cut them out. The result: Letters that are WAY too nice for what I had intended on doing. Unfortunately, this means I have to take it up a notch or two!
Update: I showed my husband my letters and he said that I should put the flags of the five different armed forces on the wall. I found them online for $6 apiece and bought all five. It was PERFECT! My husband is ex-Air Force so we always fly the American Flag at our house. We now own the Armed Forces flags to put up on Memorial Day, Flag Day, D Day, Pearl Harbor Day and Veterans Day. I'm sure there are a few others and I'm sure we will be proudly displaying our flags on those days, too!